The Gipfeli Recipe is the perfect way to master Switzerland’s most beloved pastry. These crescent-shaped delights are rich, buttery, and tender, making them a joy to bake and eat. While they resemble French croissants, Gipfeli are less flaky and have a denser texture that works beautifully with both sweet and savory fillings.
This guide will walk you through the history, step-by-step instructions, variations, and troubleshooting tips to help you create perfect Gipfeli every time. Whether you are a beginner or an experienced baker, this article will ensure you have all the tools and knowledge needed to succeed.
We’ll also explore links to related recipes, such as creative ideas for sweet breakfast recipes and crescent roll recipes, which pair beautifully with this Swiss delight.
Table of contents
1. Why Make Gipfeli at Home?
There’s something magical about baking pastries at home, especially when it comes to Gipfeli. Not only do you get to enjoy the delicious results, but the process itself is relaxing and rewarding. With the Gipfeli Recipe, you can create a treat that’s fresh, customizable, and impressive.
1.1 Benefits of Baking Gipfeli
- Freshness: Freshly baked Gipfeli taste far better than store-bought ones.
- Customizable Flavors: You can fill them with chocolate, jam, cheese, or anything you love.
- Easy to Impress: Serving homemade Gipfeli will wow your family and guests.
- Cultural Experience: By making Gipfeli, you’re connecting with a piece of Swiss culture.
Moreover, the joy of baking is not just in the result but also in the journey. Shaping the dough, choosing fillings, and watching the pastries turn golden in the oven is an experience that everyone should try.
Looking for more ideas to enrich your morning table? Pair your Gipfeli with sweet breakfast recipes for a complete meal.
2. What is Gipfeli?
The Gipfeli is a Swiss crescent-shaped pastry that has become a favorite worldwide. Its soft and buttery texture is perfect for any time of day. Although it shares some similarities with croissants, it is uniquely Swiss in its simplicity and versatility.
2.1 Characteristics of the Gipfeli Recipe
- Dense Yet Tender: Unlike croissants, Gipfeli are not overly flaky, making them ideal for heartier fillings.
- Sweet or Savory: The dough can be filled with chocolate, jam, or savory ingredients like ham and cheese.
- Symbolic Shape: The crescent shape of Gipfeli reflects its European roots.
2.2 When to Serve Gipfeli
- Breakfast or Brunch: Start your day with a warm Gipfeli and a cup of coffee or tea.
- Afternoon Snack: Sweet versions are perfect for a mid-day treat.
- Special Occasions: Serve savory Gipfeli as part of a festive spread or appetizer.
3. The History of the Gipfeli Recipe
Like all great pastries, the Gipfeli Recipe has a story. Its roots go back centuries, making it not just a treat but also a piece of history.
3.1 Where It All Began
The Gipfeli Recipe originated from the Austrian Kipferl, a crescent-shaped pastry that dates back to the 13th century. Swiss bakers adopted this pastry and began to modify it. Over time, they created the Gipfeli we know today—a denser, less flaky version of the Kipferl.
3.2 The Modern Gipfeli
In today’s world, Gipfeli is a cornerstone of Swiss breakfasts and bakeries. While the classic recipe remains popular, modern bakers have introduced creative fillings and toppings to suit a variety of tastes, often enjoyed alongside creative dishes like charcuterie boxes for a sophisticated pairing.
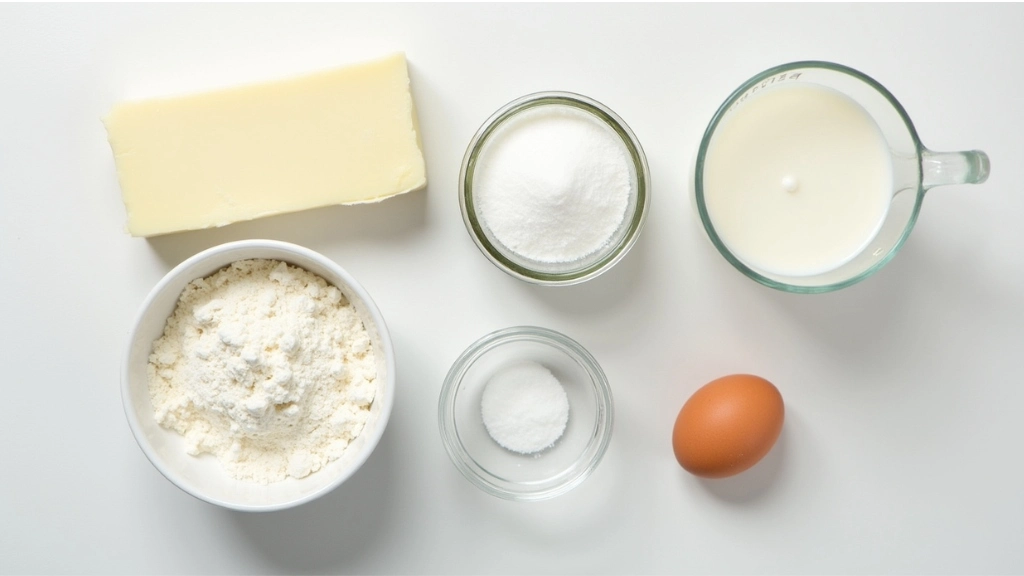
4. Ingredients and Tools for the Gipfeli Recipe
Before you begin, gather all the necessary ingredients and tools. Having everything ready will make the process smoother and more enjoyable.

4.1 Ingredients for the Dough
- All-purpose flour (500g): The foundation of the pastry.
- Unsalted butter (250g): Provides richness and a tender texture.
- Active dry yeast (10g): Helps the dough rise.
- Granulated sugar (50g): Adds a touch of sweetness.
- Salt (10g): Enhances flavor.
- Whole milk (250ml): Activates the yeast and moistens the dough.
- Egg (1): Used for an egg wash to give the pastries a golden sheen.
Optional Add-ons:
- Sweet Fillings: Chocolate chips, almond paste, or fruit preserves.
- Savory Fillings: Cheese, ham, or smoked salmon.
- Toppings: Sesame seeds, poppy seeds, or powdered sugar.
4.2 Essential Tools
- Mixing Bowls: For combining ingredients.
- Rolling Pin: For shaping the dough evenly.
- Pastry Brush: For applying the egg wash.
- Baking Sheet: To ensure even baking.
- Kitchen Scale: Helps measure ingredients precisely.
5. Step-by-Step Guide to the Gipfeli Recipe
Follow these simple steps to make perfect Gipfeli every time.
5.1 Making the Dough
- Mix Dry Ingredients: In a large bowl, combine flour, sugar, salt, and yeast.
- Add Butter: Cut cold butter into small cubes and mix into the dry ingredients until crumbly.
- Add Milk: Gradually pour in warm milk and stir until a dough forms.
- Knead the Dough: On a floured surface, knead for 10 minutes until the dough is smooth and elastic.
5.2 First Rise
- Place the dough in a greased bowl, cover with a damp cloth, and let it rise for 1–2 hours, or until it doubles in size.
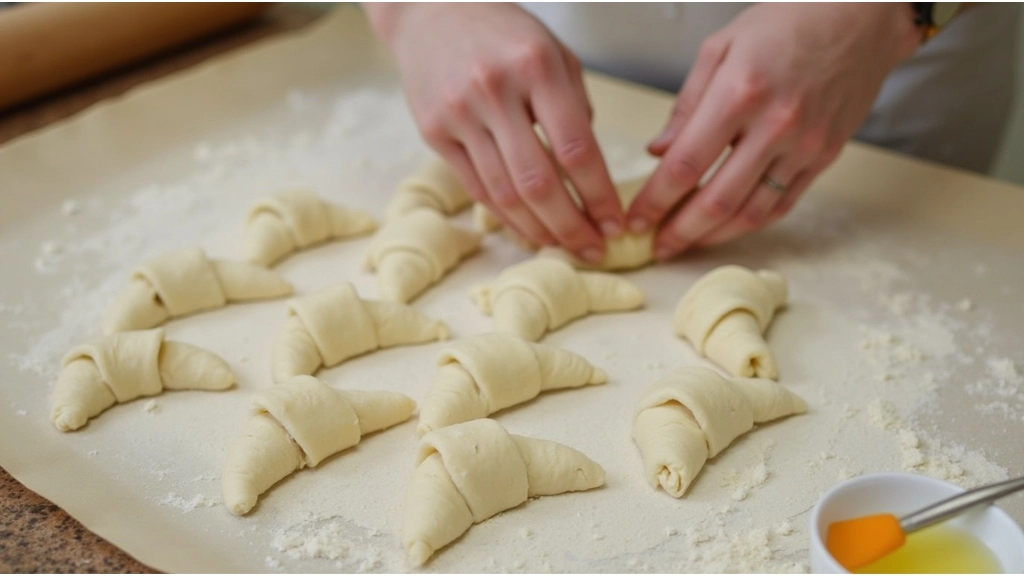
5.3 Shaping the Gipfeli
- Roll the dough into a large rectangle, about ½ cm thick.
- Cut into triangles with a base width of 10–12 cm and a height of 15–20 cm.
- Add fillings to the wide end of each triangle.
- Roll each triangle tightly from the wide end to the tip, forming a crescent shape.
5.4 Second Rise
- Arrange the shaped Gipfeli on a baking sheet, cover, and let them rise again for 30–60 minutes.
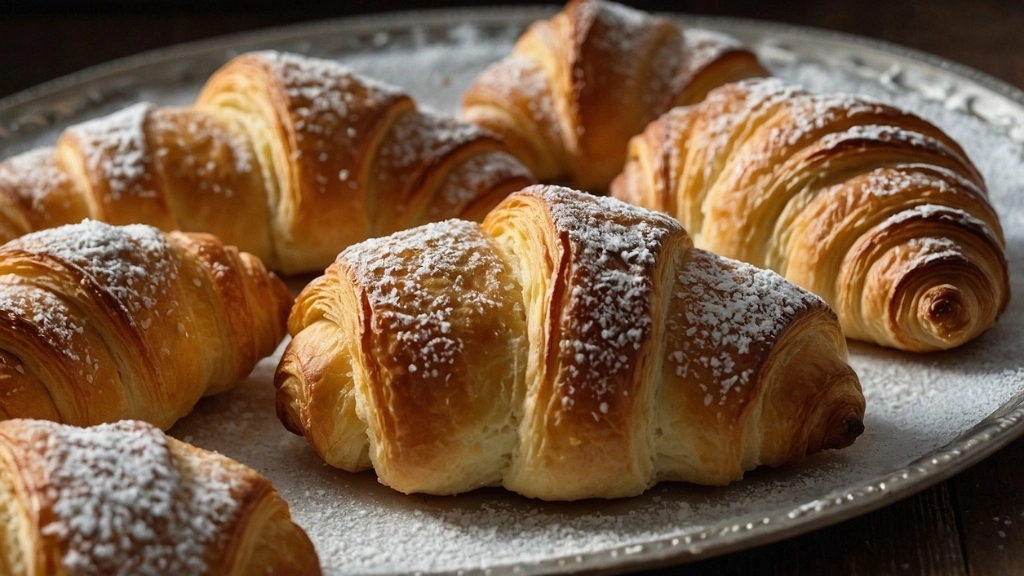
5.5 Baking the Gipfeli
- Preheat the oven to 200°C (390°F).
- Brush the pastries with egg wash for a golden finish.
- Bake for 15–20 minutes until they are golden brown and puffed.
5.6 Final Touches
- Let the pastries cool slightly before serving.

6. Troubleshooting Tips for the Gipfeli Recipe
Even with a straightforward recipe, things can go wrong. Here are solutions to common issues.
6.1 Fixing Dough Problems
- Sticky Dough: Add a little flour while kneading to make it easier to handle.
- Dry Dough: Add a teaspoon of milk at a time until it’s smooth again.
6.2 Avoiding Baking Mistakes
- Uneven Baking: Rotate the baking sheet halfway through for even results.
- Overbaking: Keep an eye on the Gipfeli and reduce the oven temperature if needed.
For more tips, check out breakfast pastry recipes for creative inspiration.
7. Creative Variations of the Gipfeli Recipe
The beauty of the Gipfeli Recipe is that it can be adapted to suit any taste.
7.1 Sweet Variations
- Chocolate-Filled Delight: Add a few chocolate chips to each triangle.
- Jam-Filled Pastries: Use fruit preserves for a fruity twist.
- Nutty Almond Bliss: Spread almond paste on the dough before rolling.
7.2 Savory Options
- Ham and Cheese: Add slices of ham and cheese for a hearty snack.
- Spinach and Feta: Use a mix of sautéed spinach and crumbled feta.
- Herbed Cream Cheese: Add fresh herbs to cream cheese for a refreshing flavor.
8. Serving and Storing Your Gipfeli
8.1 Serving Suggestions
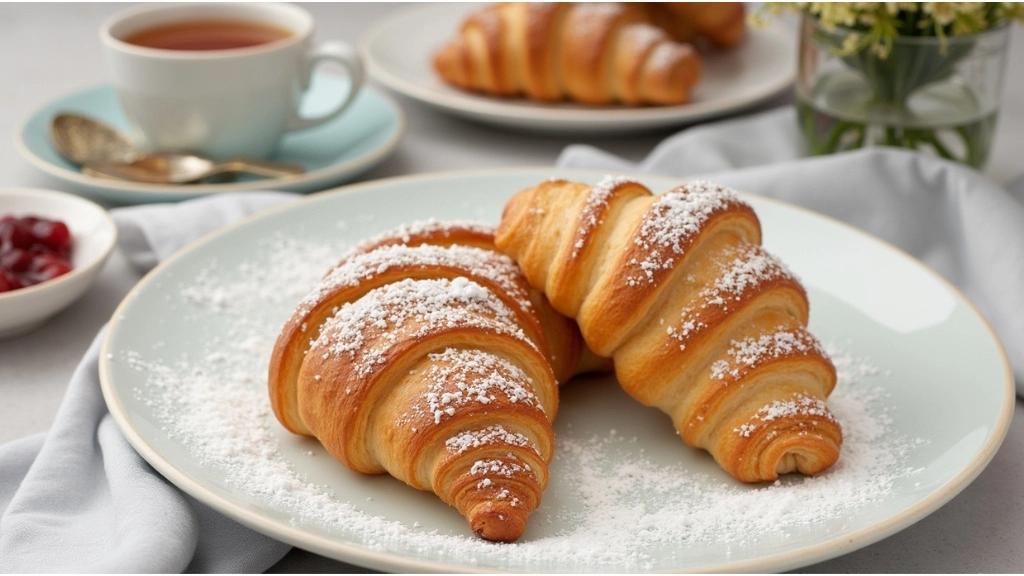
- Serve warm with coffee, tea, or hot chocolate.
- Dust with powdered sugar for extra sweetness.
8.2 Storing Leftovers
- Keep in an airtight container for up to 2 days.
- Freeze for up to 3 months.
8.3 Reheating Tips
- Reheat in an oven preheated to 180°C (350°F) for 5–10 minutes.

Conclusion: Mastering the Gipfeli Recipe
The Gipfeli Recipe is a wonderful way to experience the joy of Swiss baking. Its simple preparation, endless customization options, and irresistible flavor make it a must-try. Whether you make them sweet, savory, or a mix of both, these pastries will become a favorite in your home.
Now that you have the knowledge, it’s time to roll up your sleeves and get started. Happy baking!
